


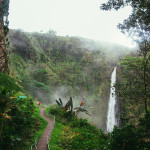
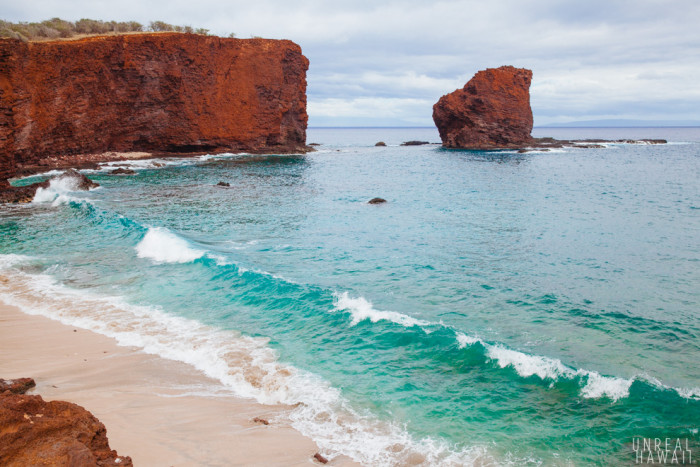
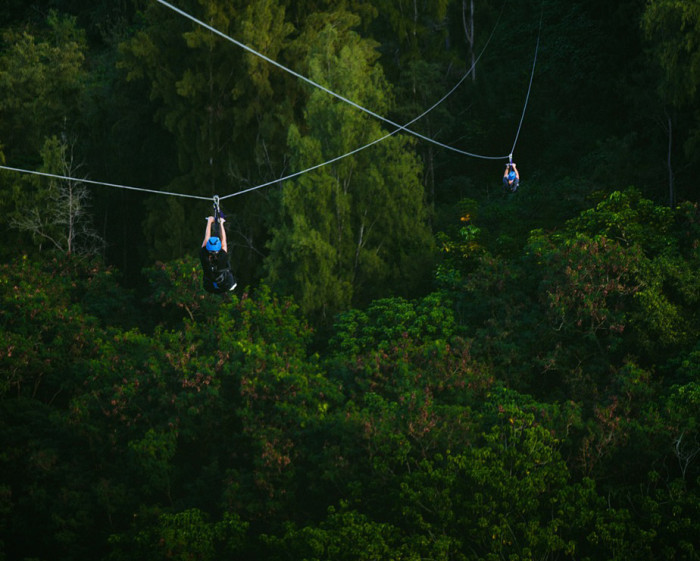
See what it's like to spend a weekend on one of Hawaii's smallest and least populated islands. Lanai, Hawaii.
FULL STORY ›
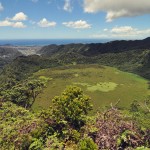
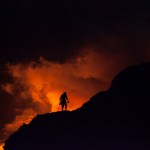
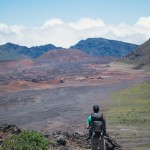
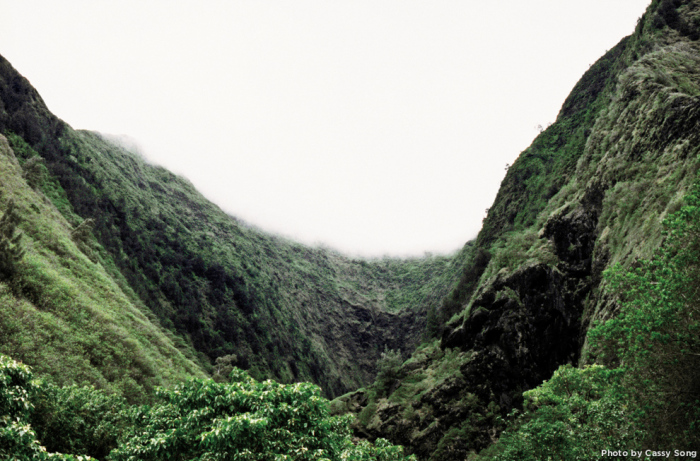
Unreal Hawaii is a collection of stories and visuals of Hawaii. Learn more ›
Na Ala Hele - Hawaii Trail Systems
Official hiking trail system of Hawaii.
Hawaii State Parks
Official website for Hawaii State Parks.
Hawaii Camping Permit Reservation System
Request permits online.


^ Top of page | Home | Search | Archives


Unreal Hawaii is a digital magazine for people that love the Hawaii outdoors. Learn more >
ADVERTISE:
Banner Ads (managed by BuySellAds) >
Sponsored Content >
DISCLAIMER: UnrealHawaii.com is an independent resource for Hawaii focused content. Unreal Hawaii is not affiliated with the state of Hawaii. The stories on this website are provided for entertainment and informational purposes only. The trail and activity descriptions are given to give the reader a better understanding of what to expect while hiking and participating in activities in Hawaii. This information is not intended to give specific advice on any trail. The writer and/or publisher of this website is not responsible for any accidents, injuries, rescues, inconvenience, or loss of life by anyone attempting any of the hikes or activities on this website.
It is the responsibility of the reader to use common sense and good judgment by interpreting and using the information to safely enjoy any outdoor activities.
Hiking and any outdoor activity can be dangerous and has many potential hazards. It is up to each individual to know their limits, abilities and level of expertise before attempting any outdoor activity.
© 2011 - 2014 Unreal Hawaii LLC.
 This work is licensed under a Creative Commons Attribution-NonCommercial-NoDerivs 3.0 Unported License. | Web usage privacy.